
DWA Commerce allows you to have your own blog, which you can access by adding "/blog" to the URL of your ecommerce website or by clicking on blog option. On the blog page, you will find a list of posts, complete with associated images and categorized topics.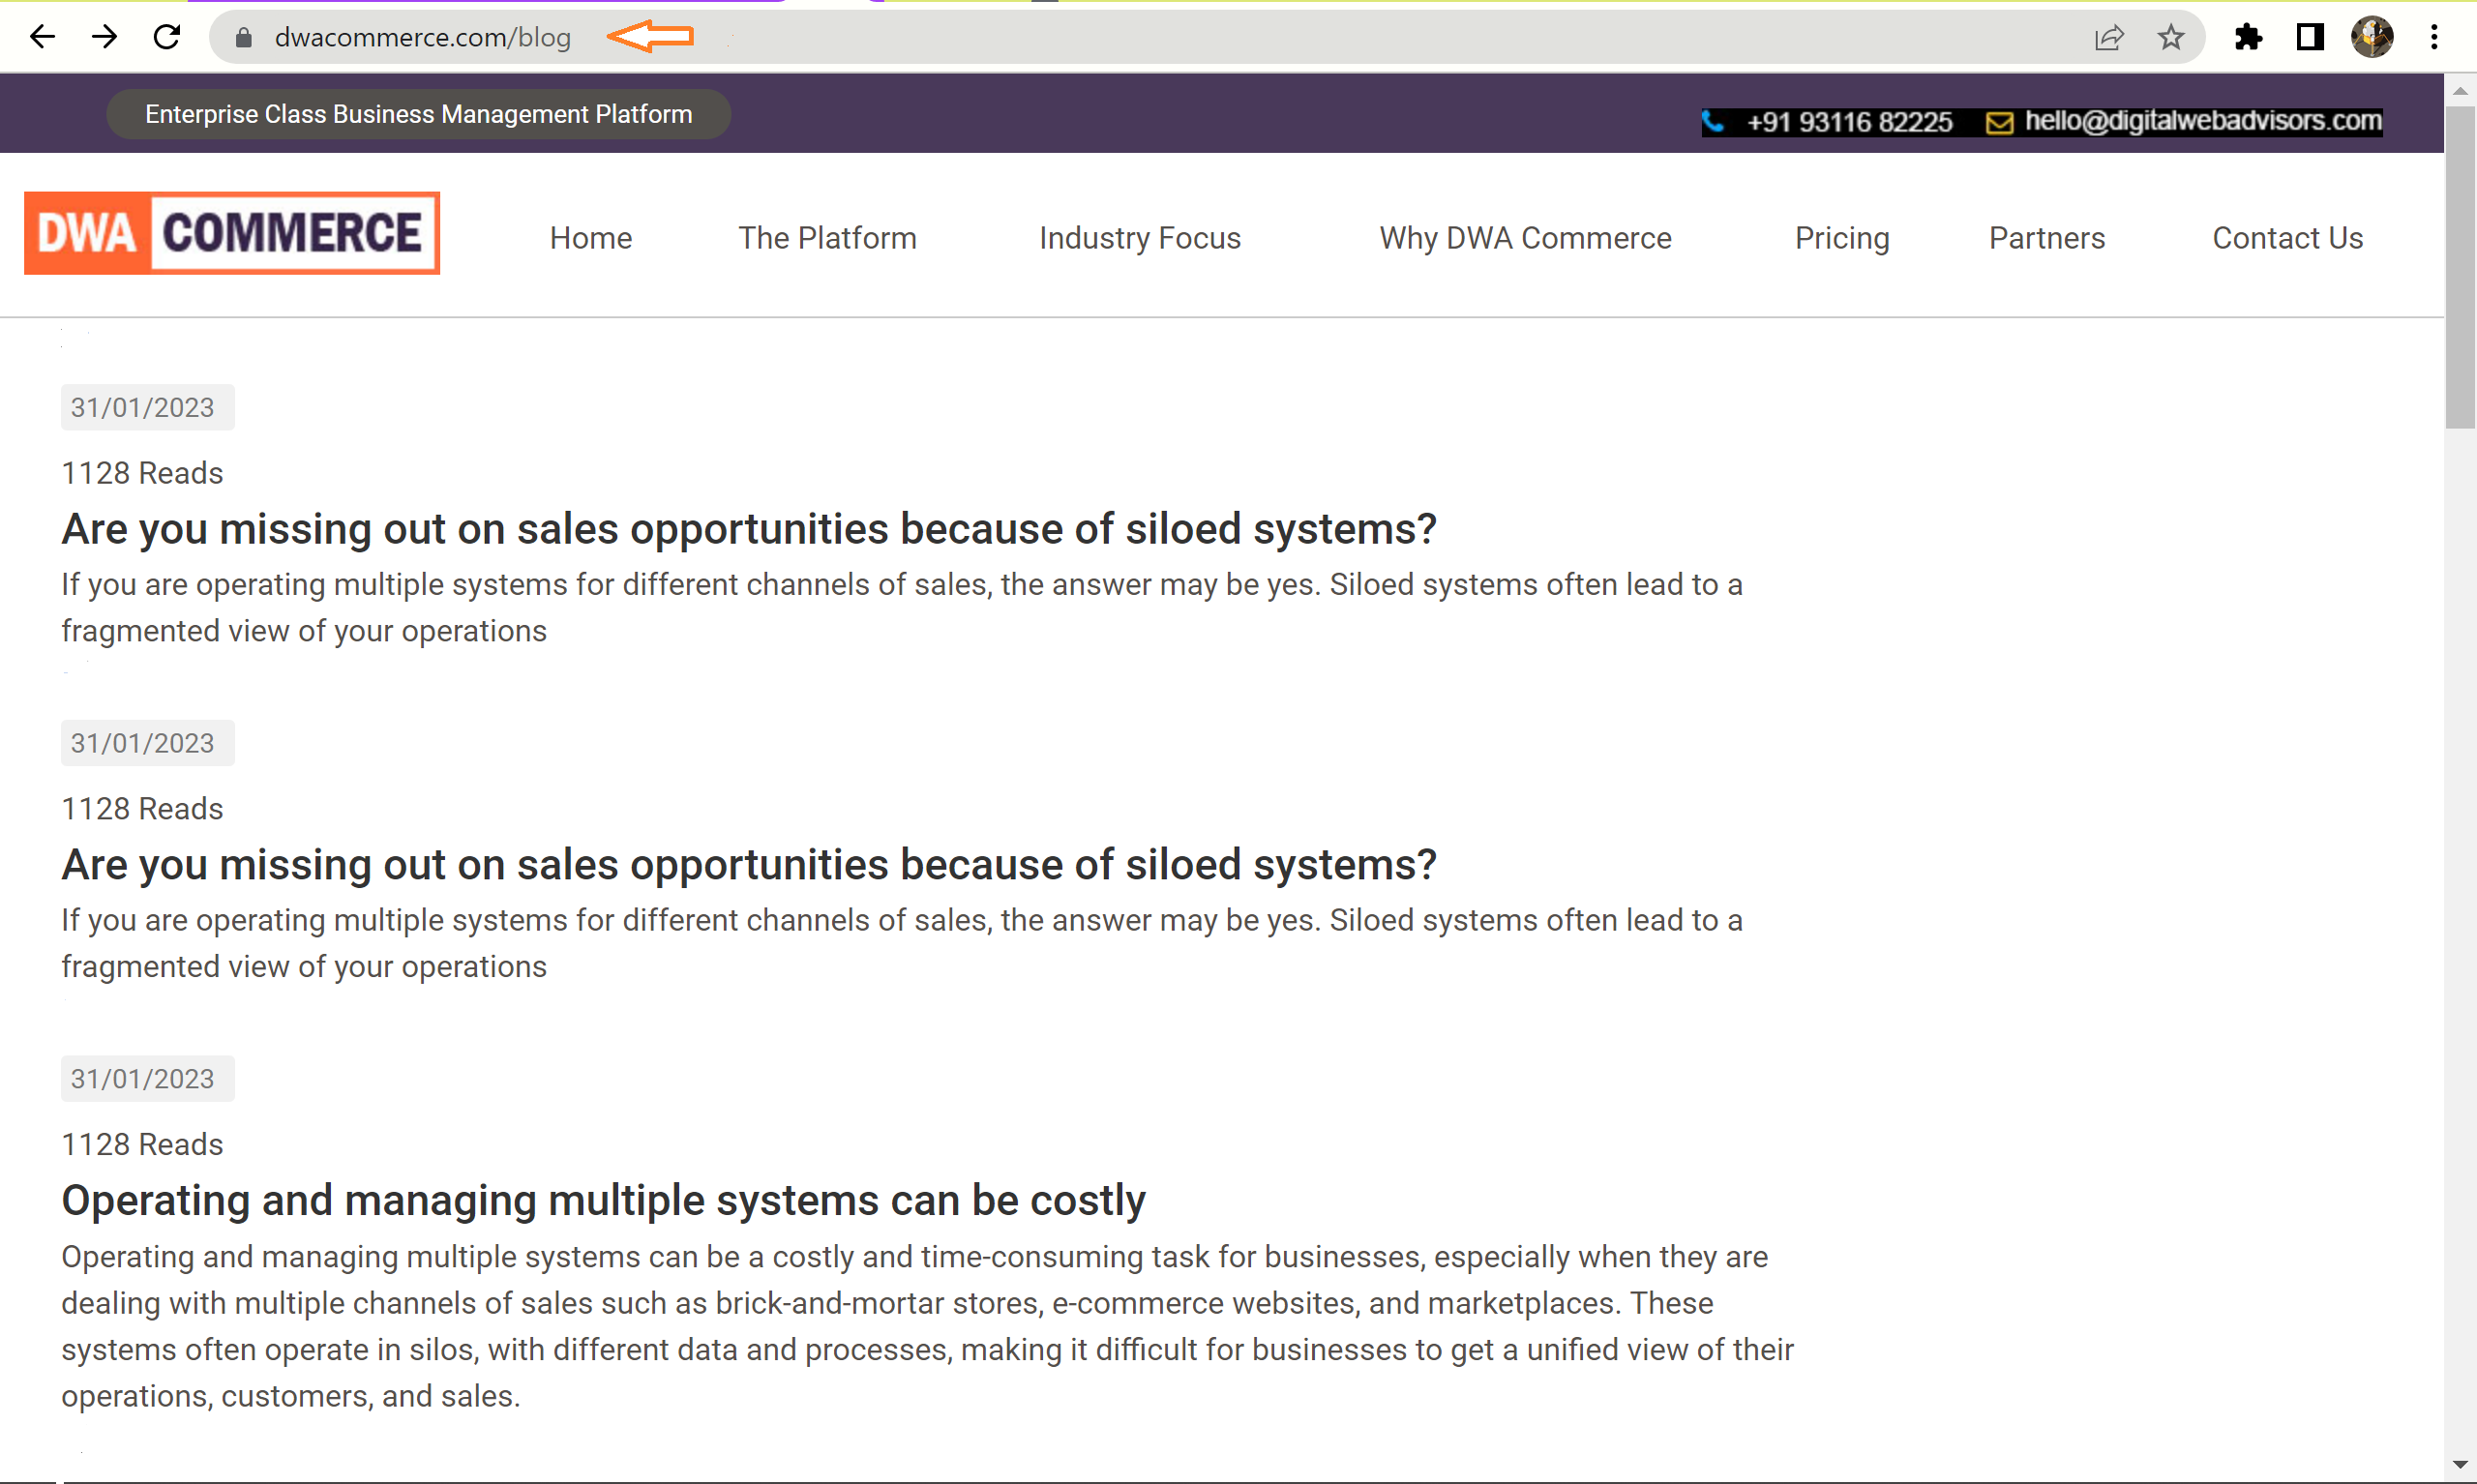
To create a blog, follow these steps:
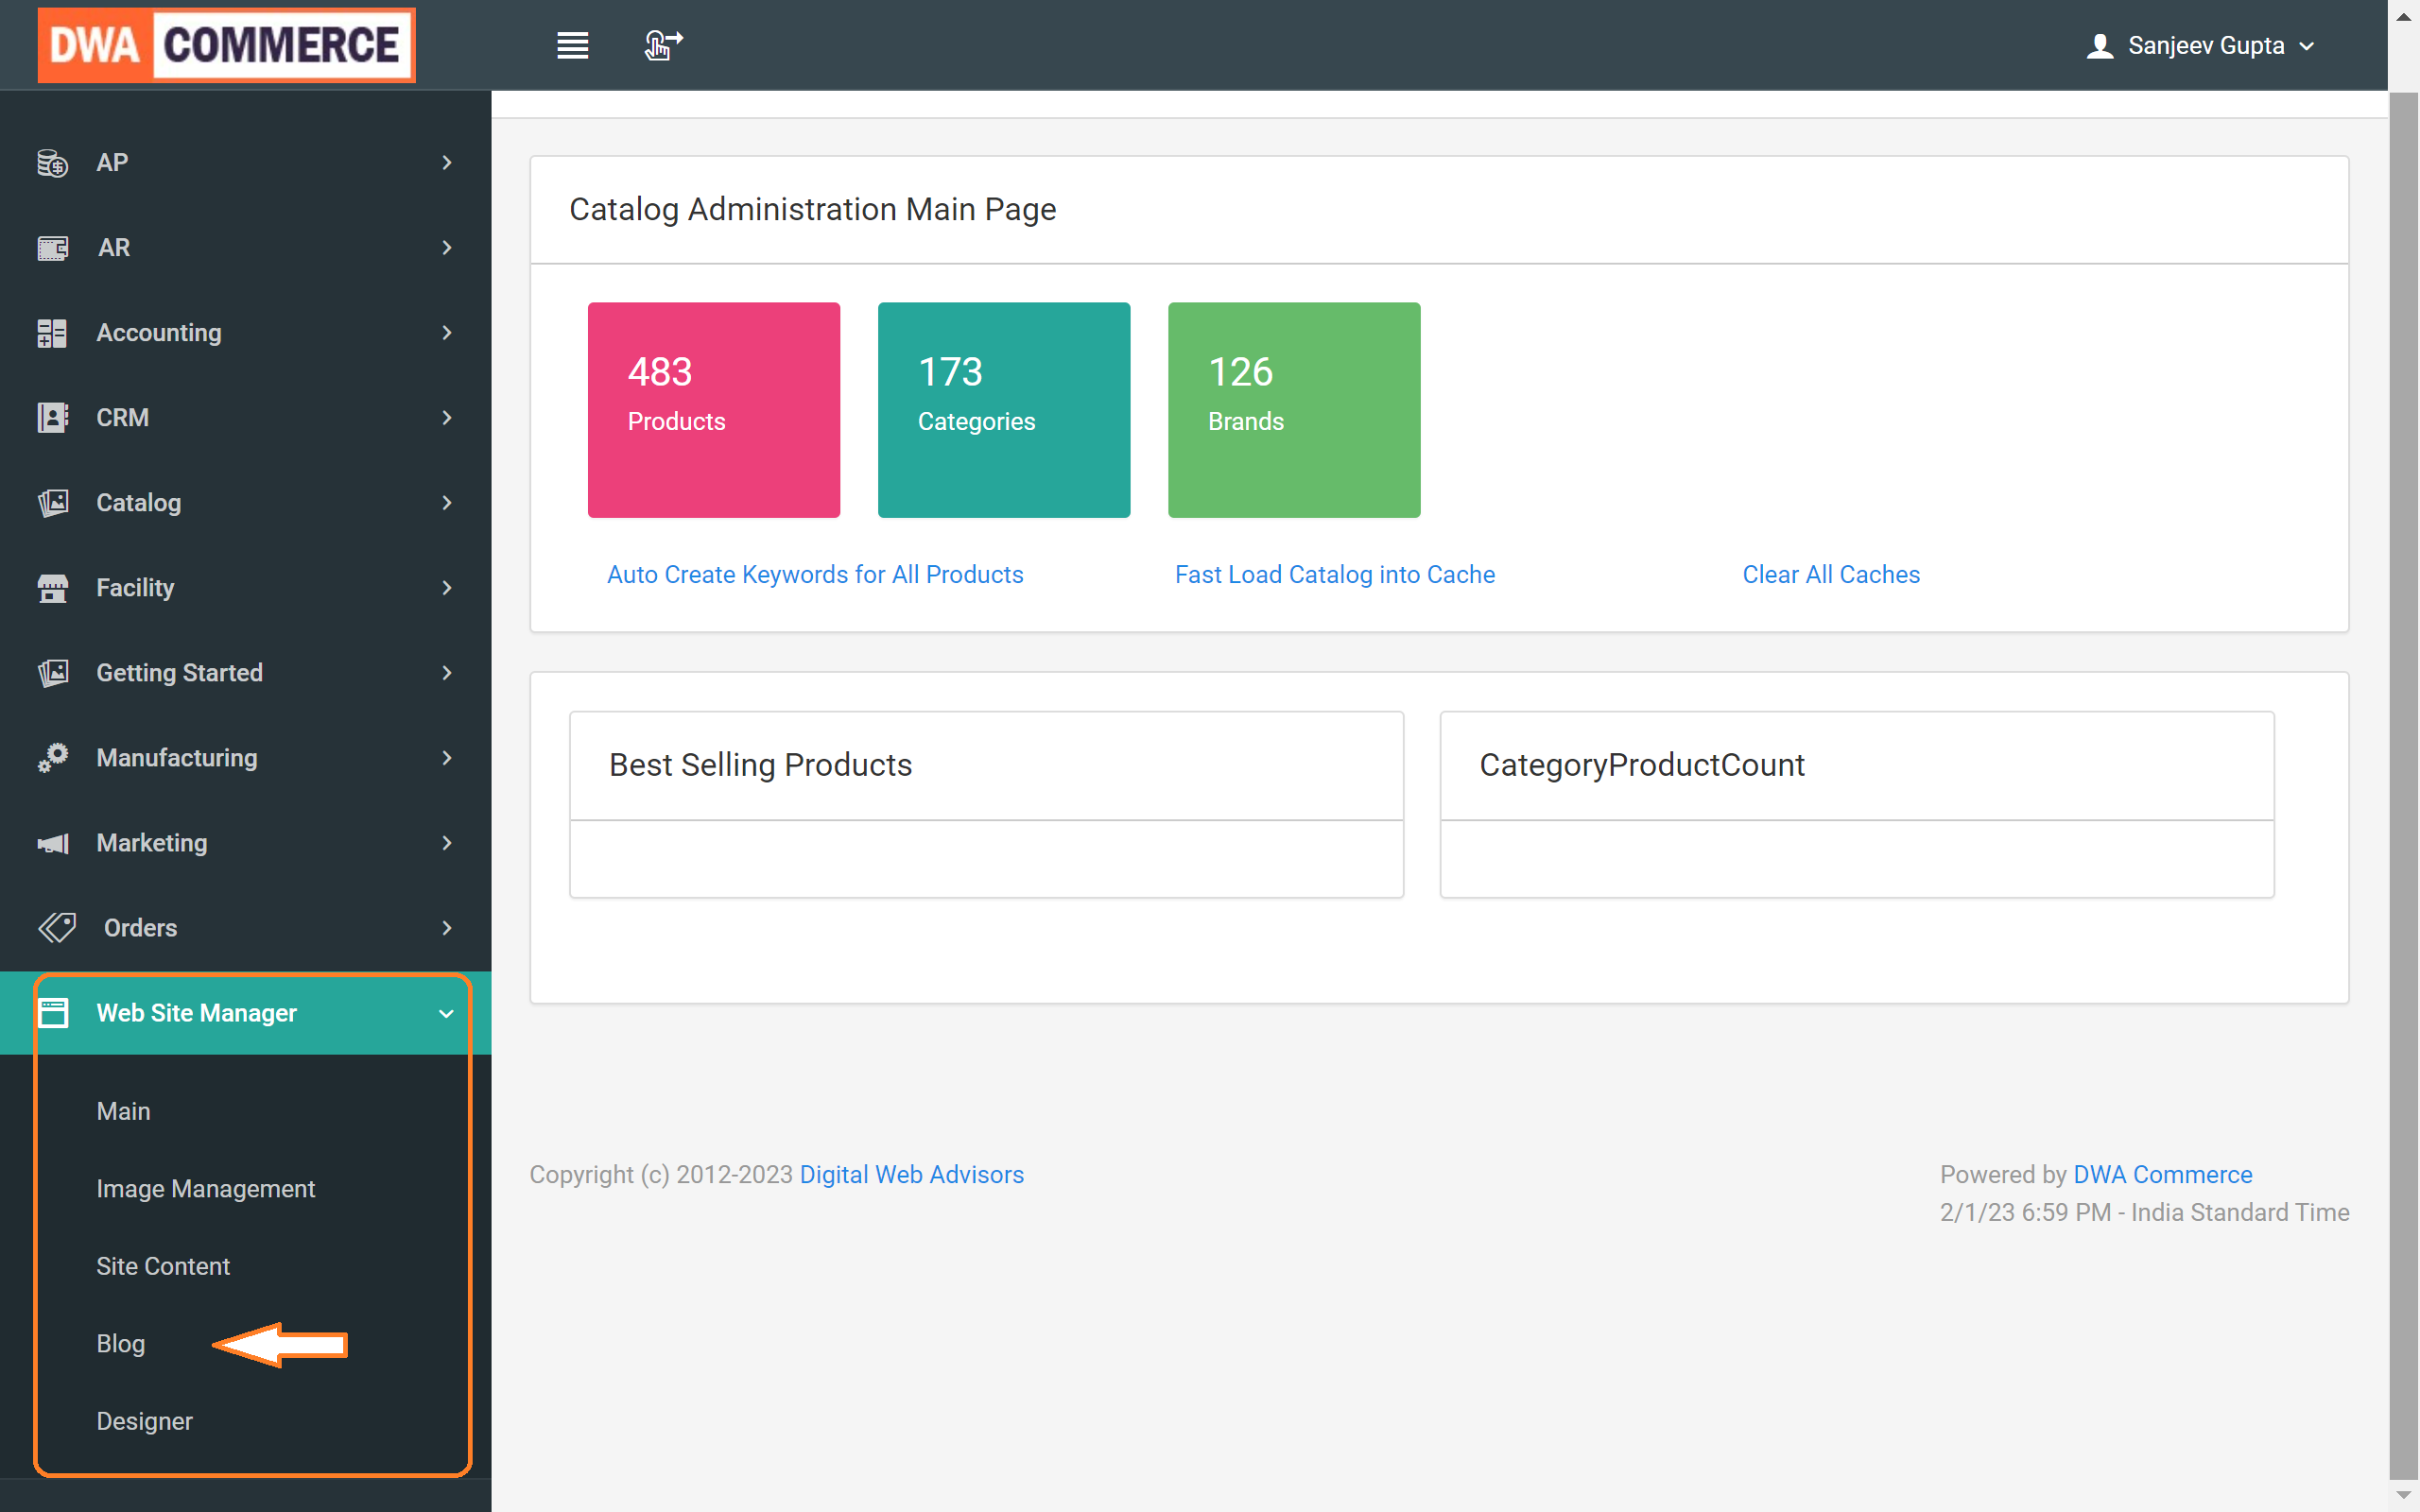
- Go to the Website Manager Catalog and click on the Blog submenu.
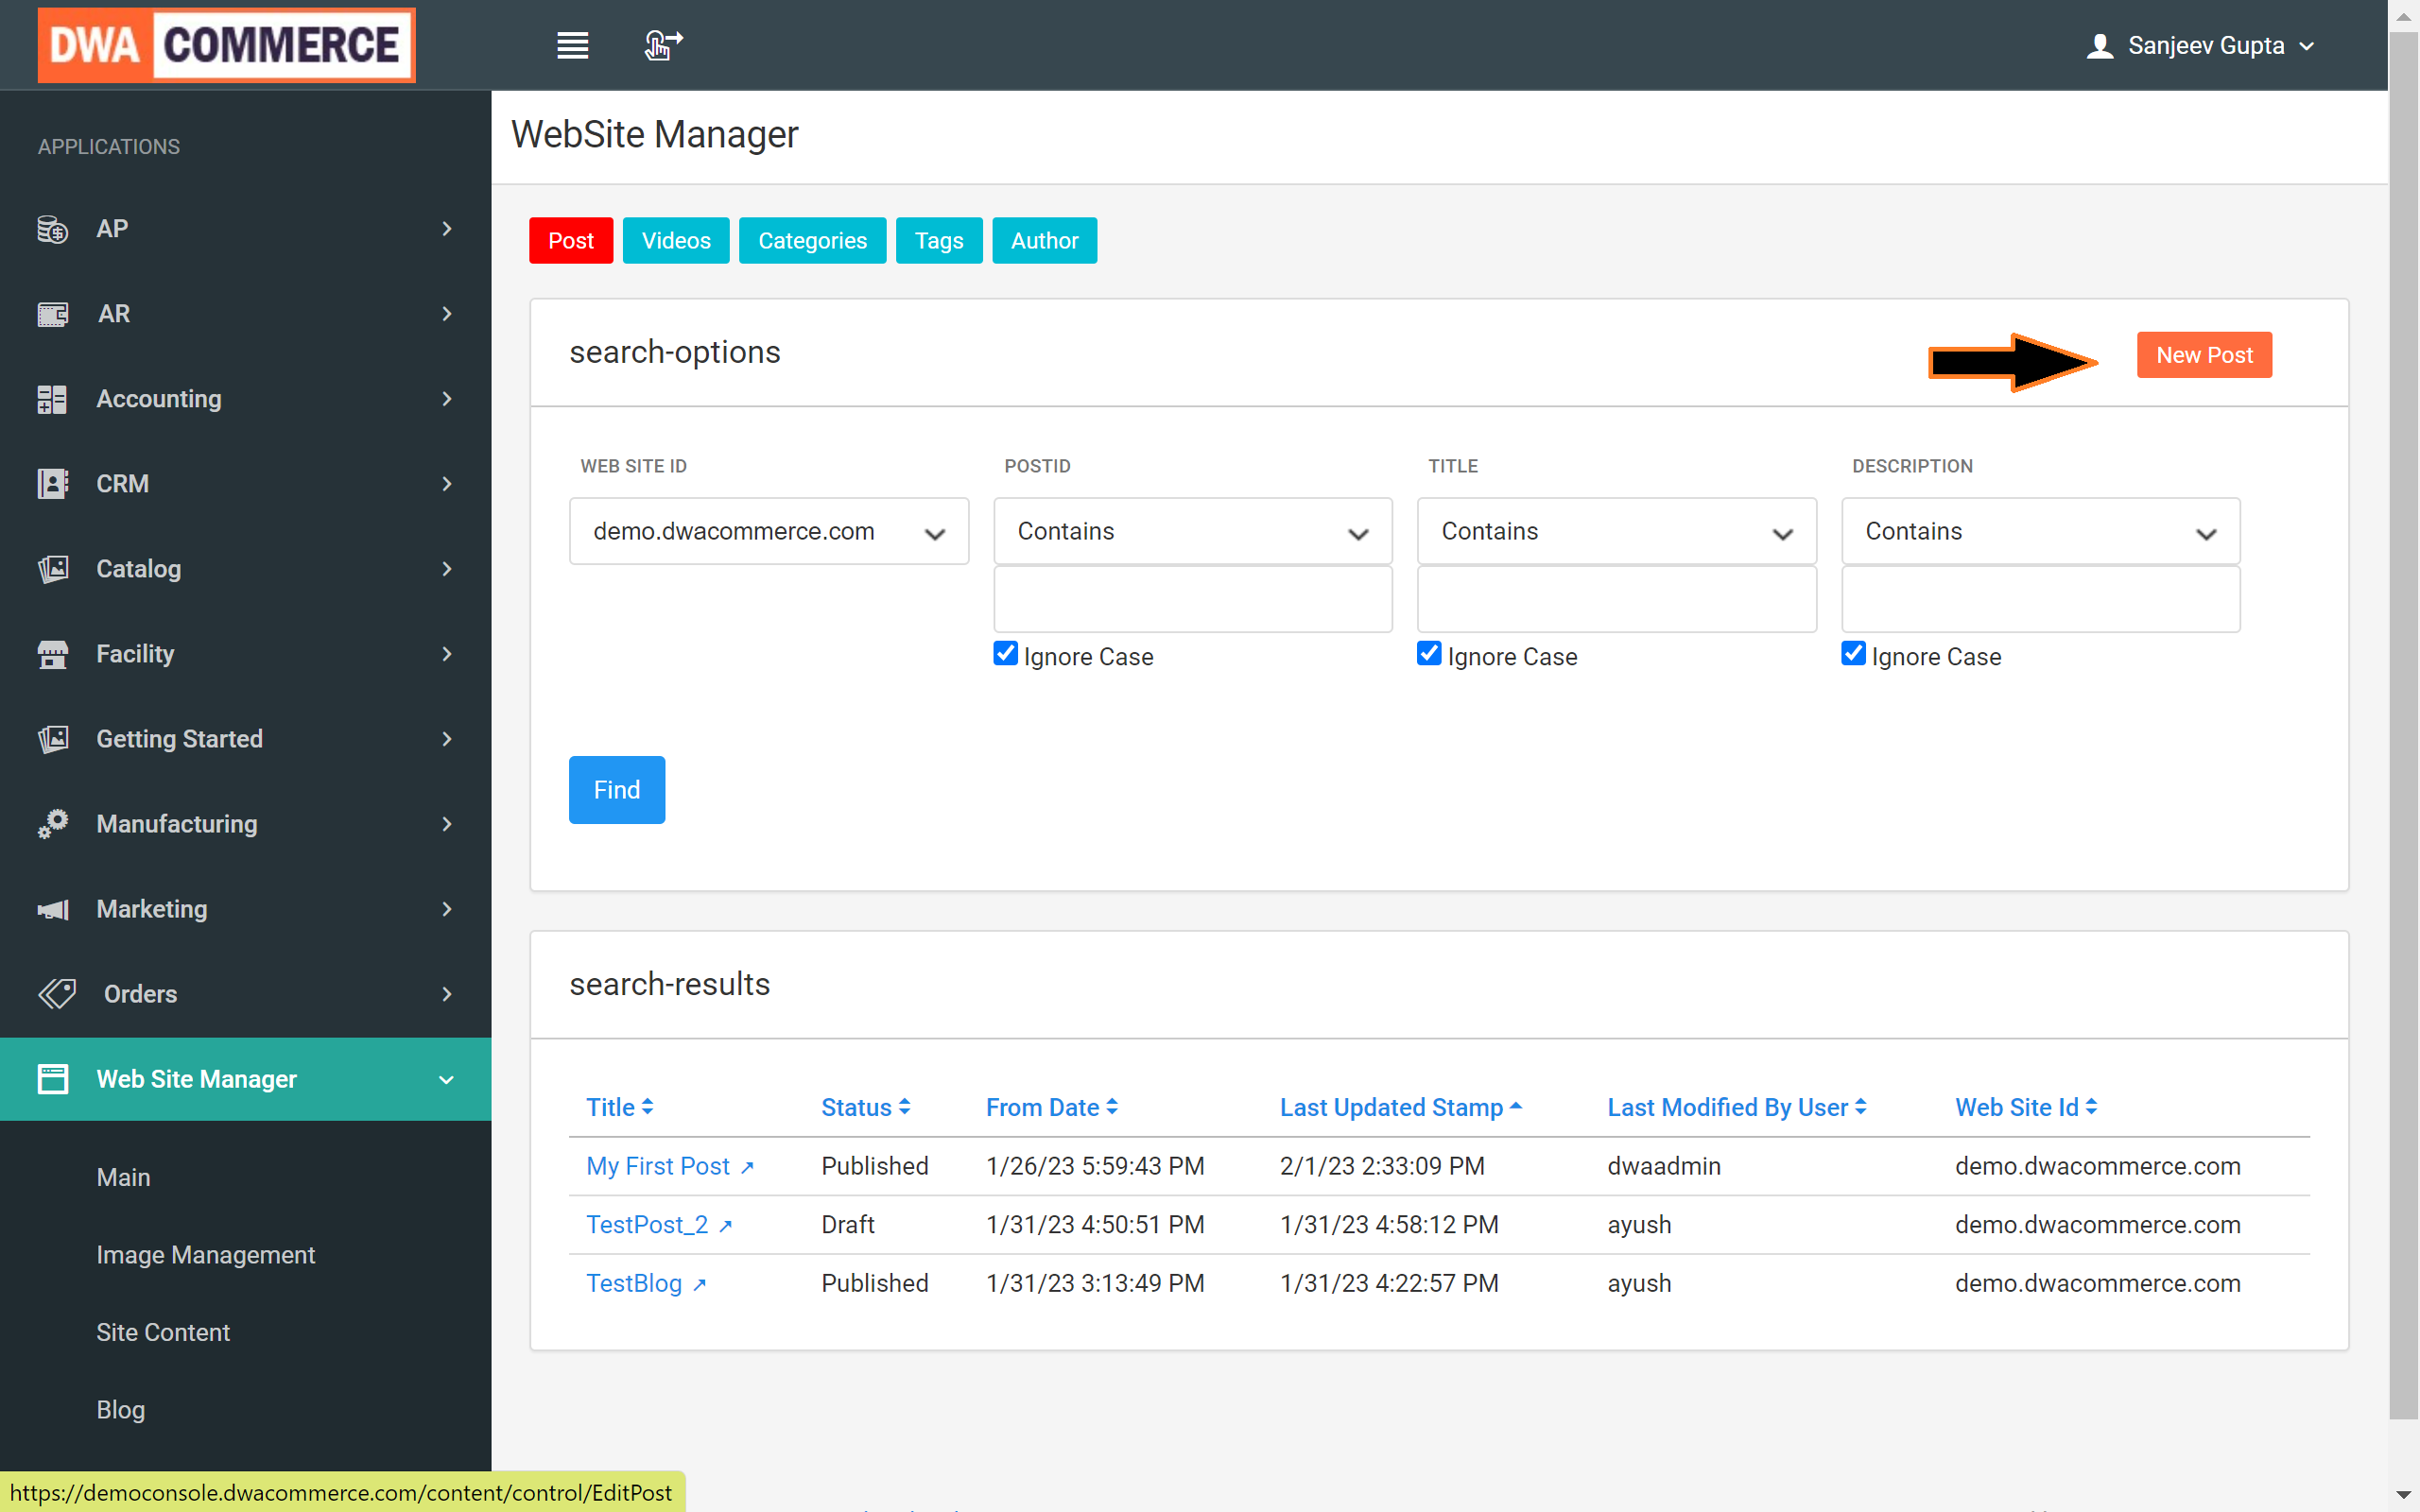
- Click on the "New Post" button to create a new post for your blog.
- Enter the title, brief description, and set the status to draft.
- Once the content is ready to be published, change the status to "Publish."
In the content section, you can customize the text with bold, italic, underline, highlight, font styles, and sizes, making it more readable and appealing. You can also add images to the post by uploading from your computer or embedding from an external source.
- To do so, click the image icon. If the image is from an external source, enter the image URL. If you want to upload the image from your computer, click the Browse Server button.
- This will open a new screen. First, upload the image to the server, then select the image from the directory where you've stored it.
- Click Choose Files to select an image from your computer. Once you've chosen the desired image, click Open.
- The image has been successfully stored in the home directory, and you can now select it by clicking on it.
- For more information on uploading images to the server, watch the Image Management tutorial or the related blog.
- Next, provide the width and height. Generally, a width of 80% is recommended, and the height field can be left blank, but you can adjust the dimensions as needed.
- Finally, click OK, and you'll see that the image has been uploaded successfully in the content section.
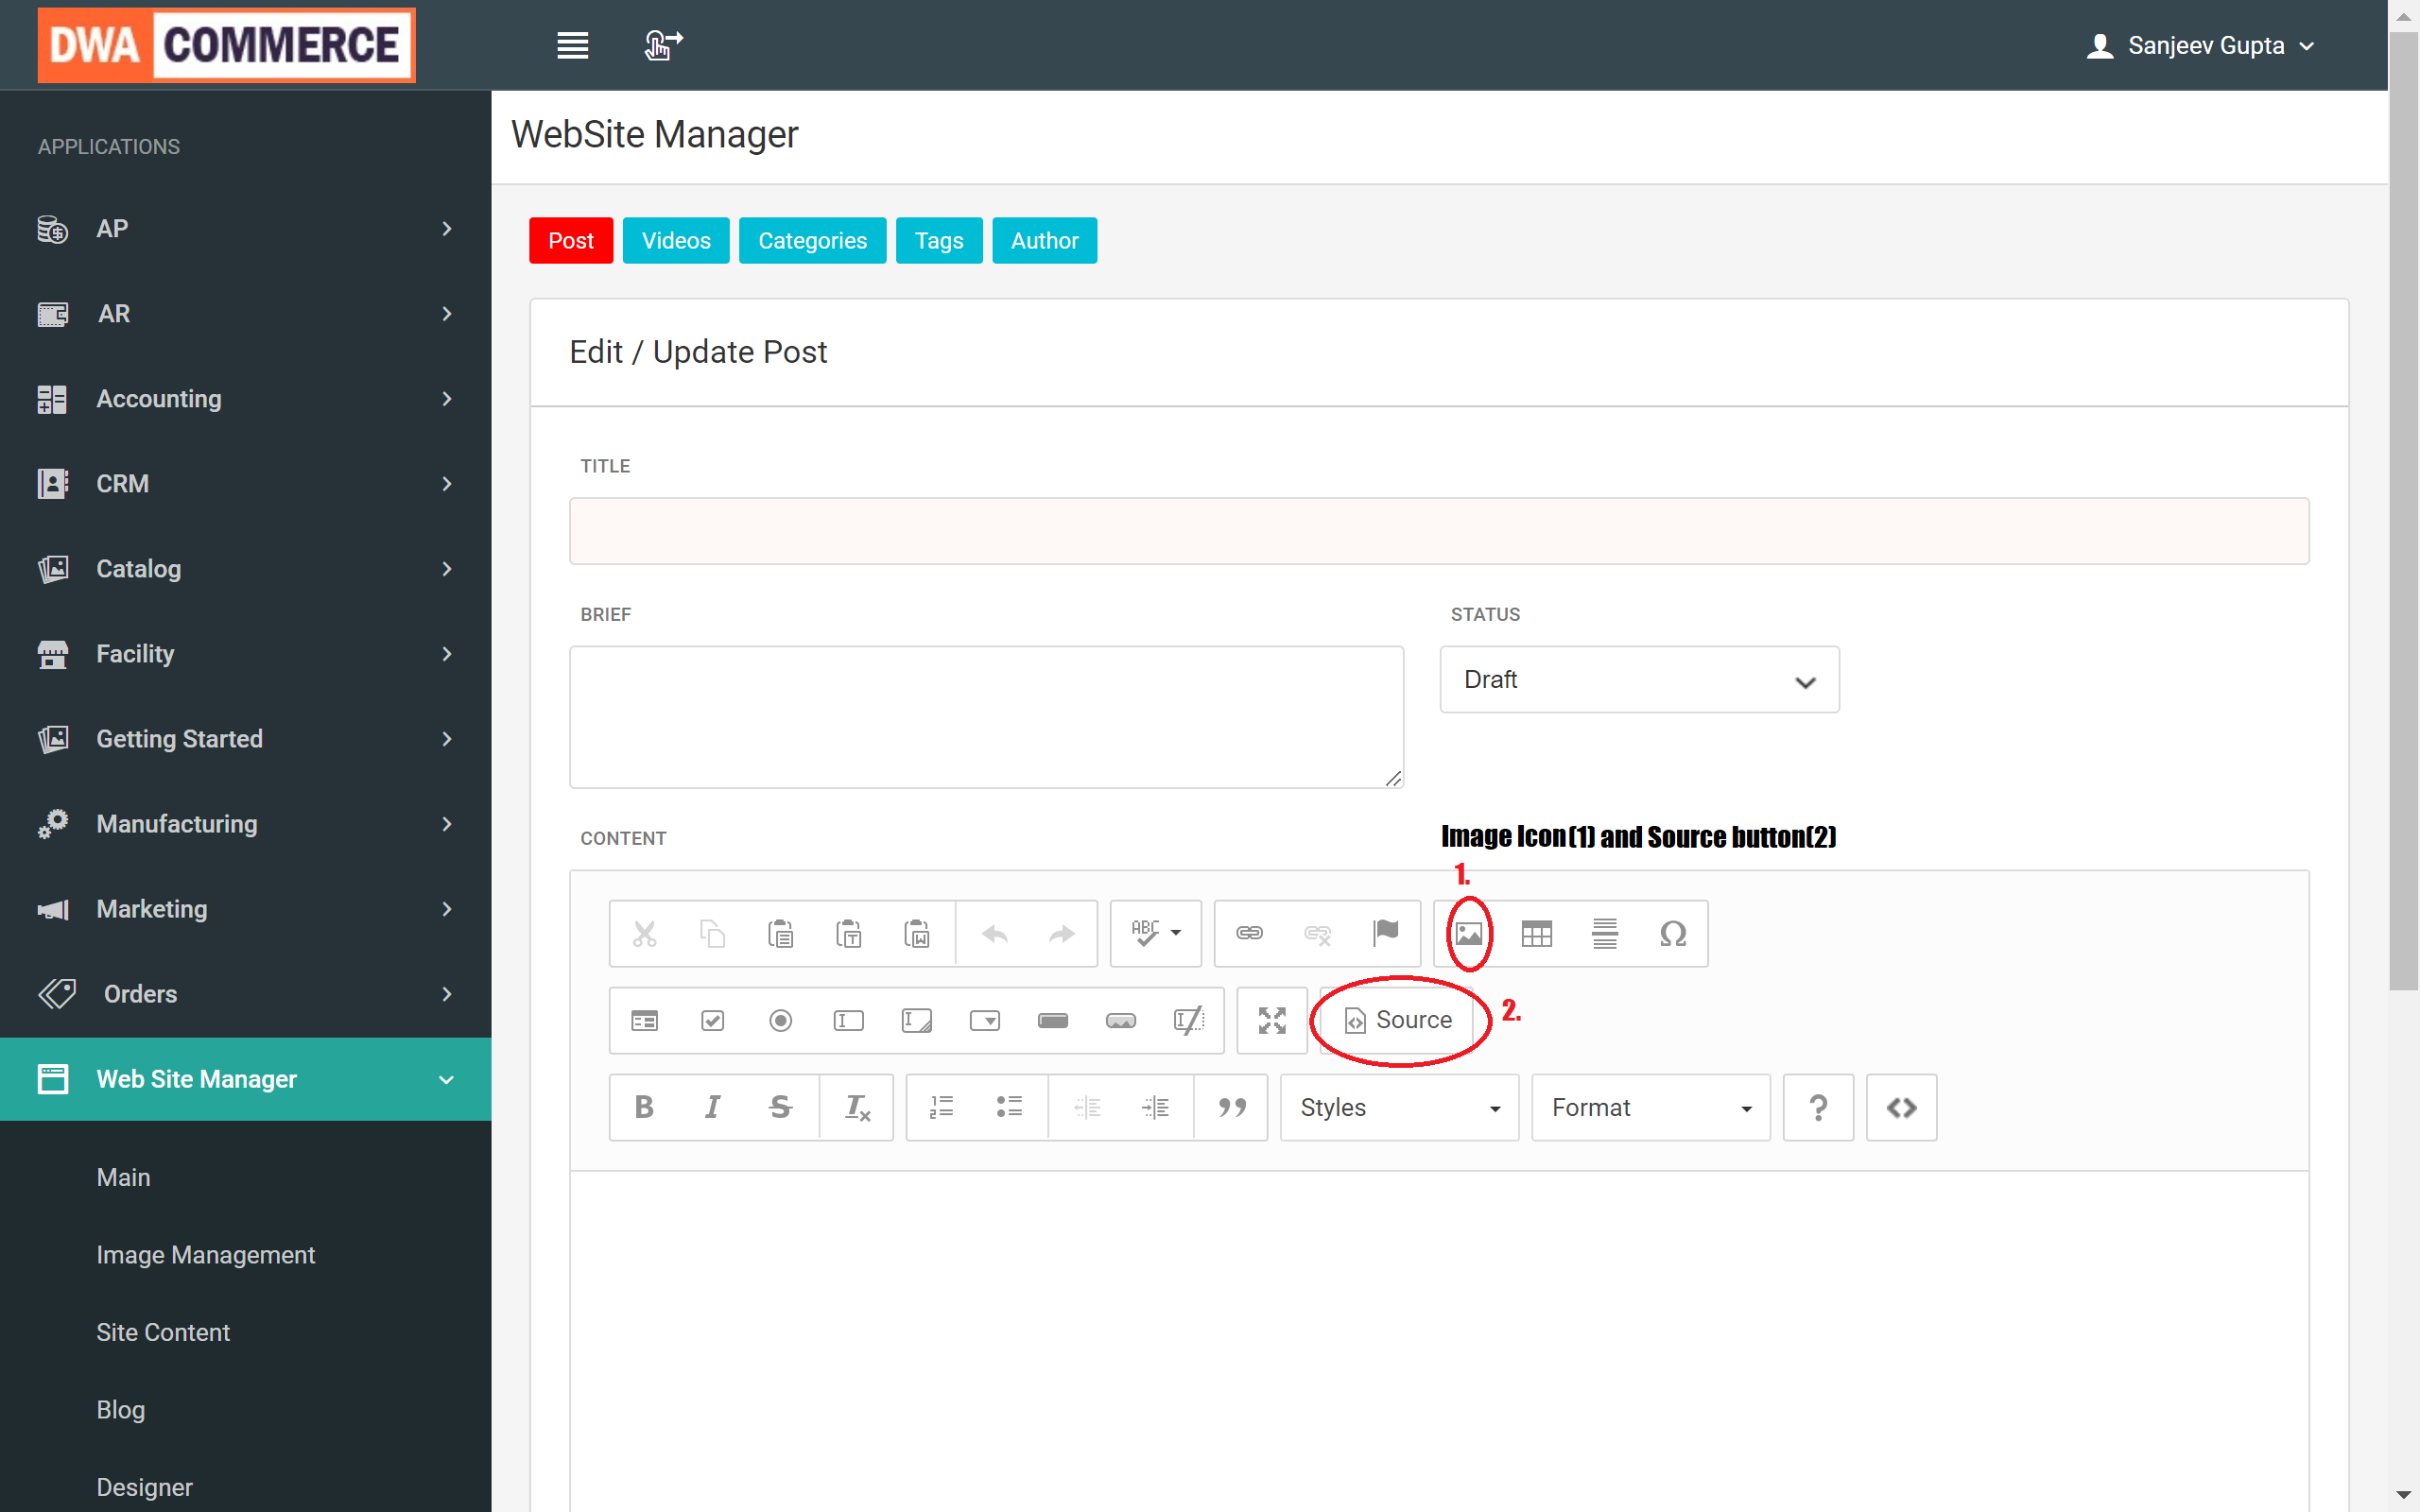
DWA Commerce also offers the option to view and edit the HTML document for the blog by clicking the "Source" button. Additionally, you can assign categories and tags to the blog to help categorize and organize the content, making it easier for readers to find content of interest and for search engines to understand the context of the blog.
To add a new category, follow these steps:
- Go to the "Categories" button on the header.
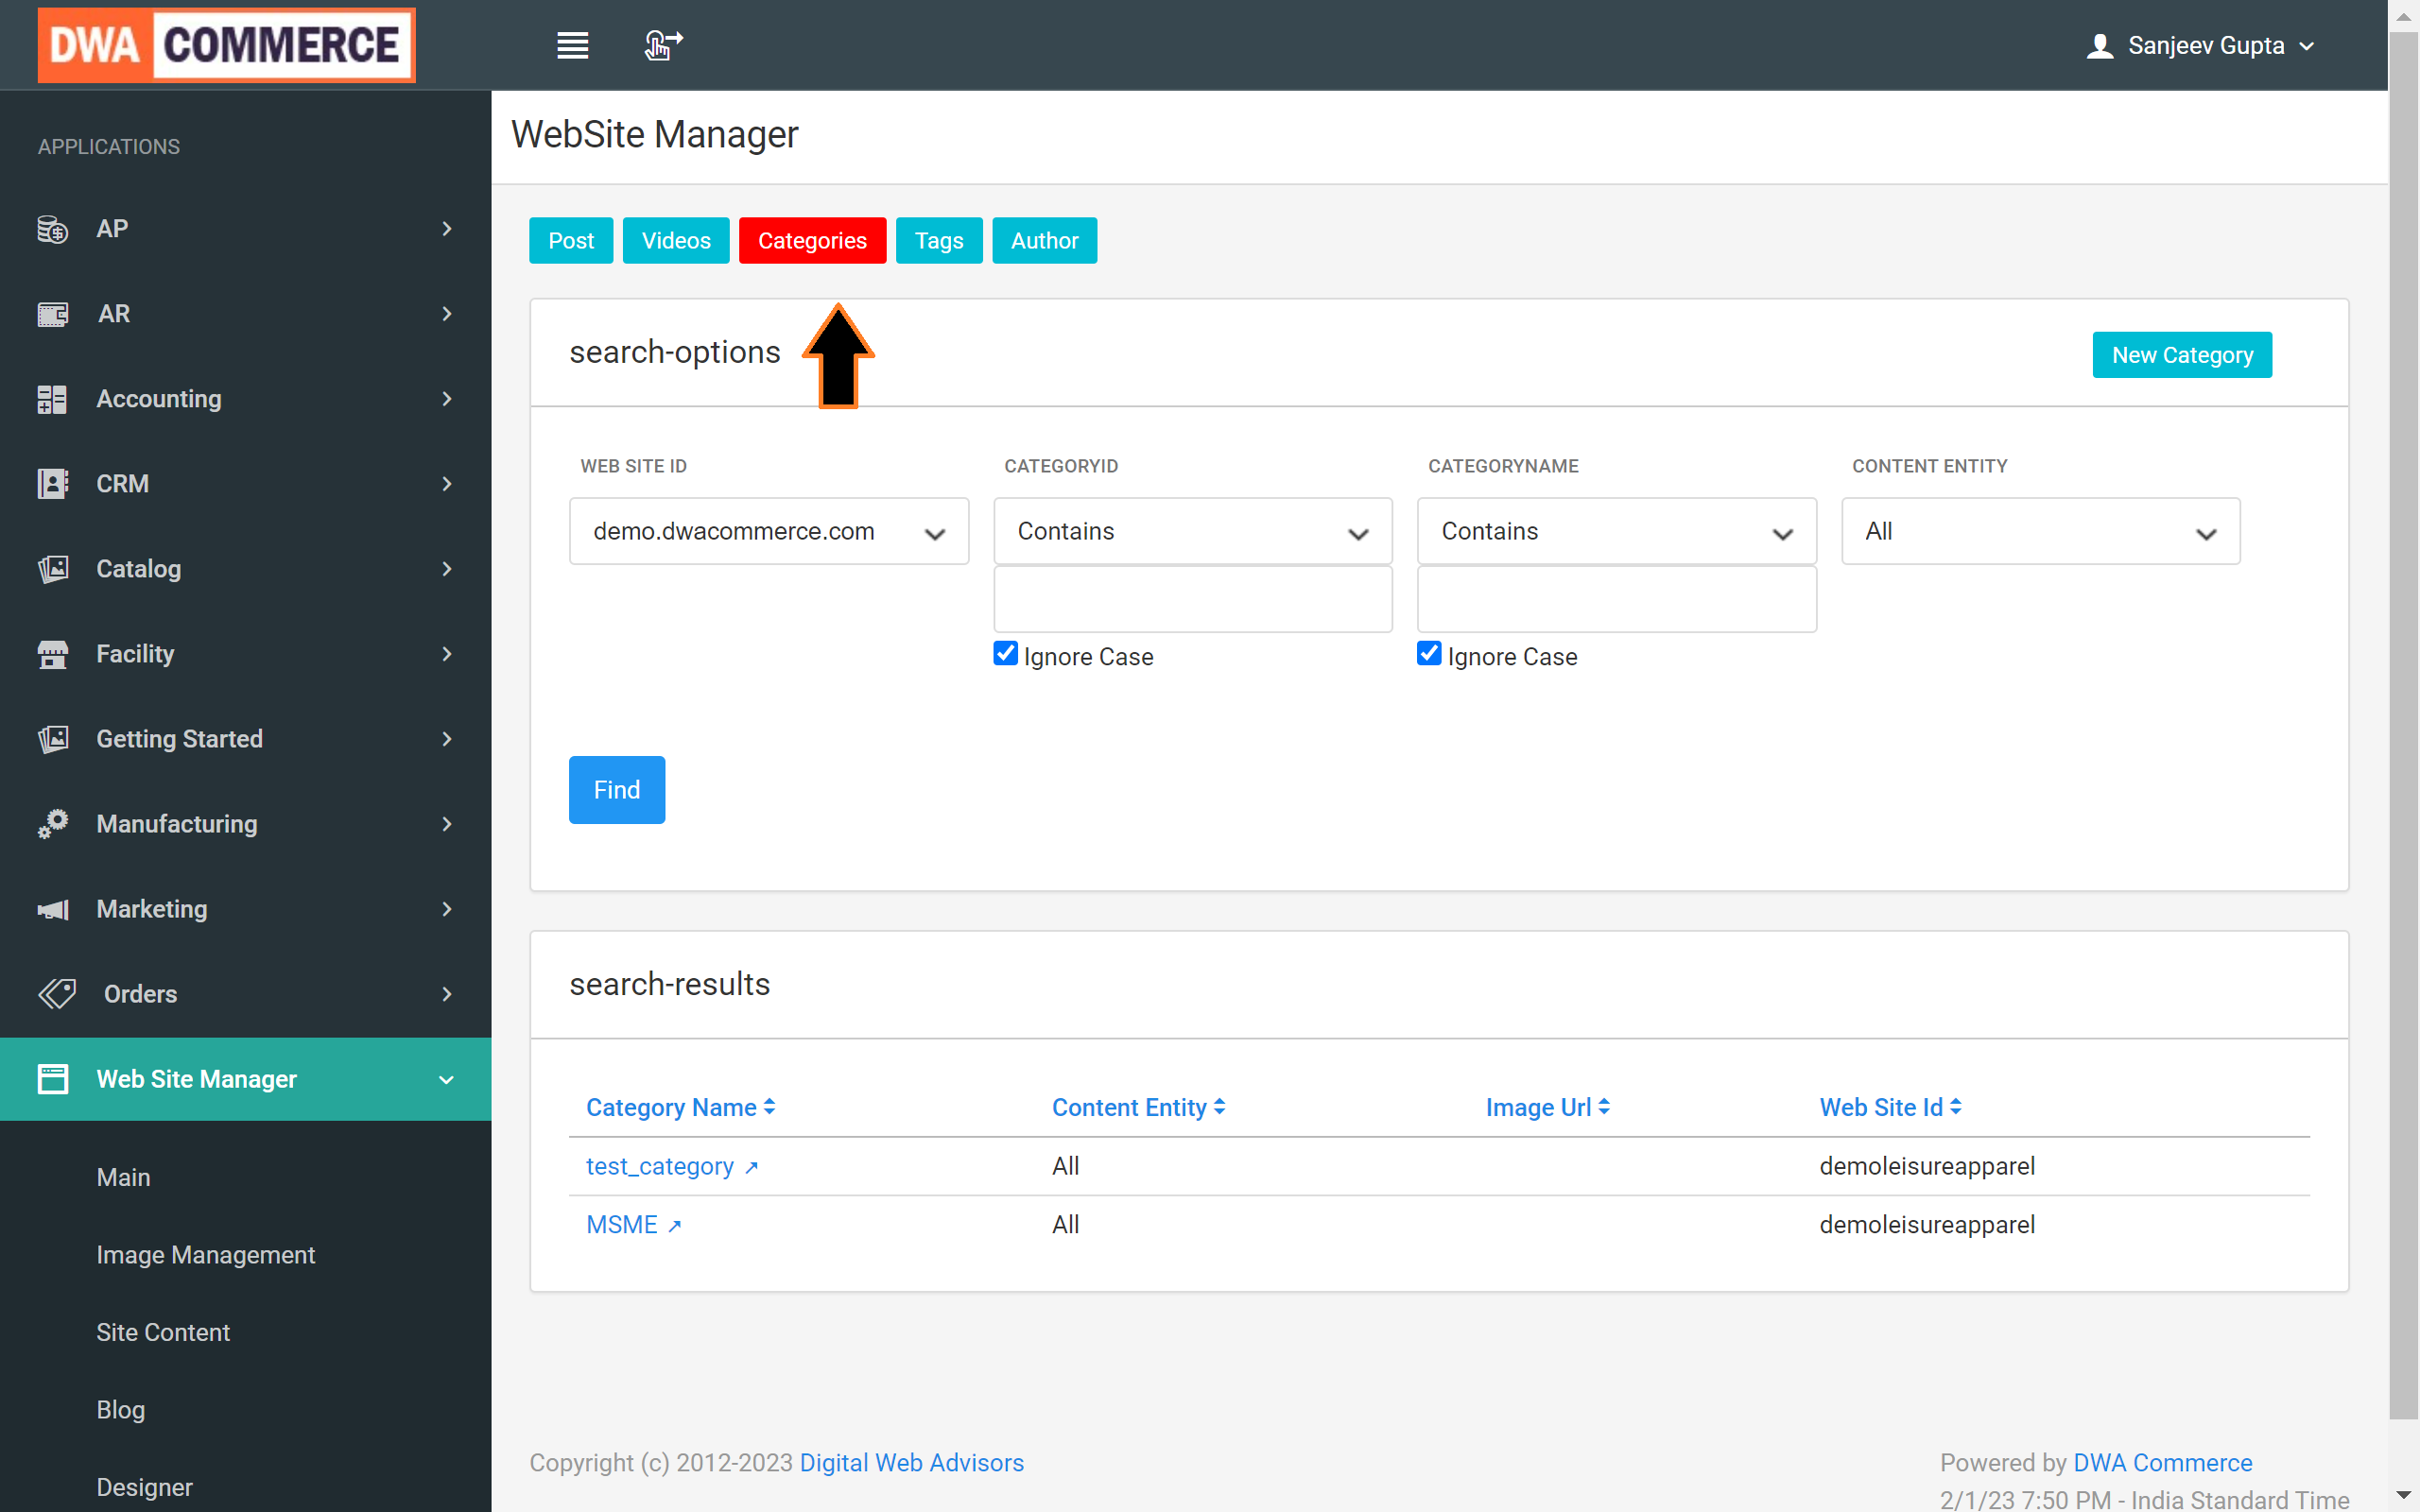
- Click "New Category," and enter the category name and image URL.This image will represent the category, similar to how a post's image represents the post on the blog page.
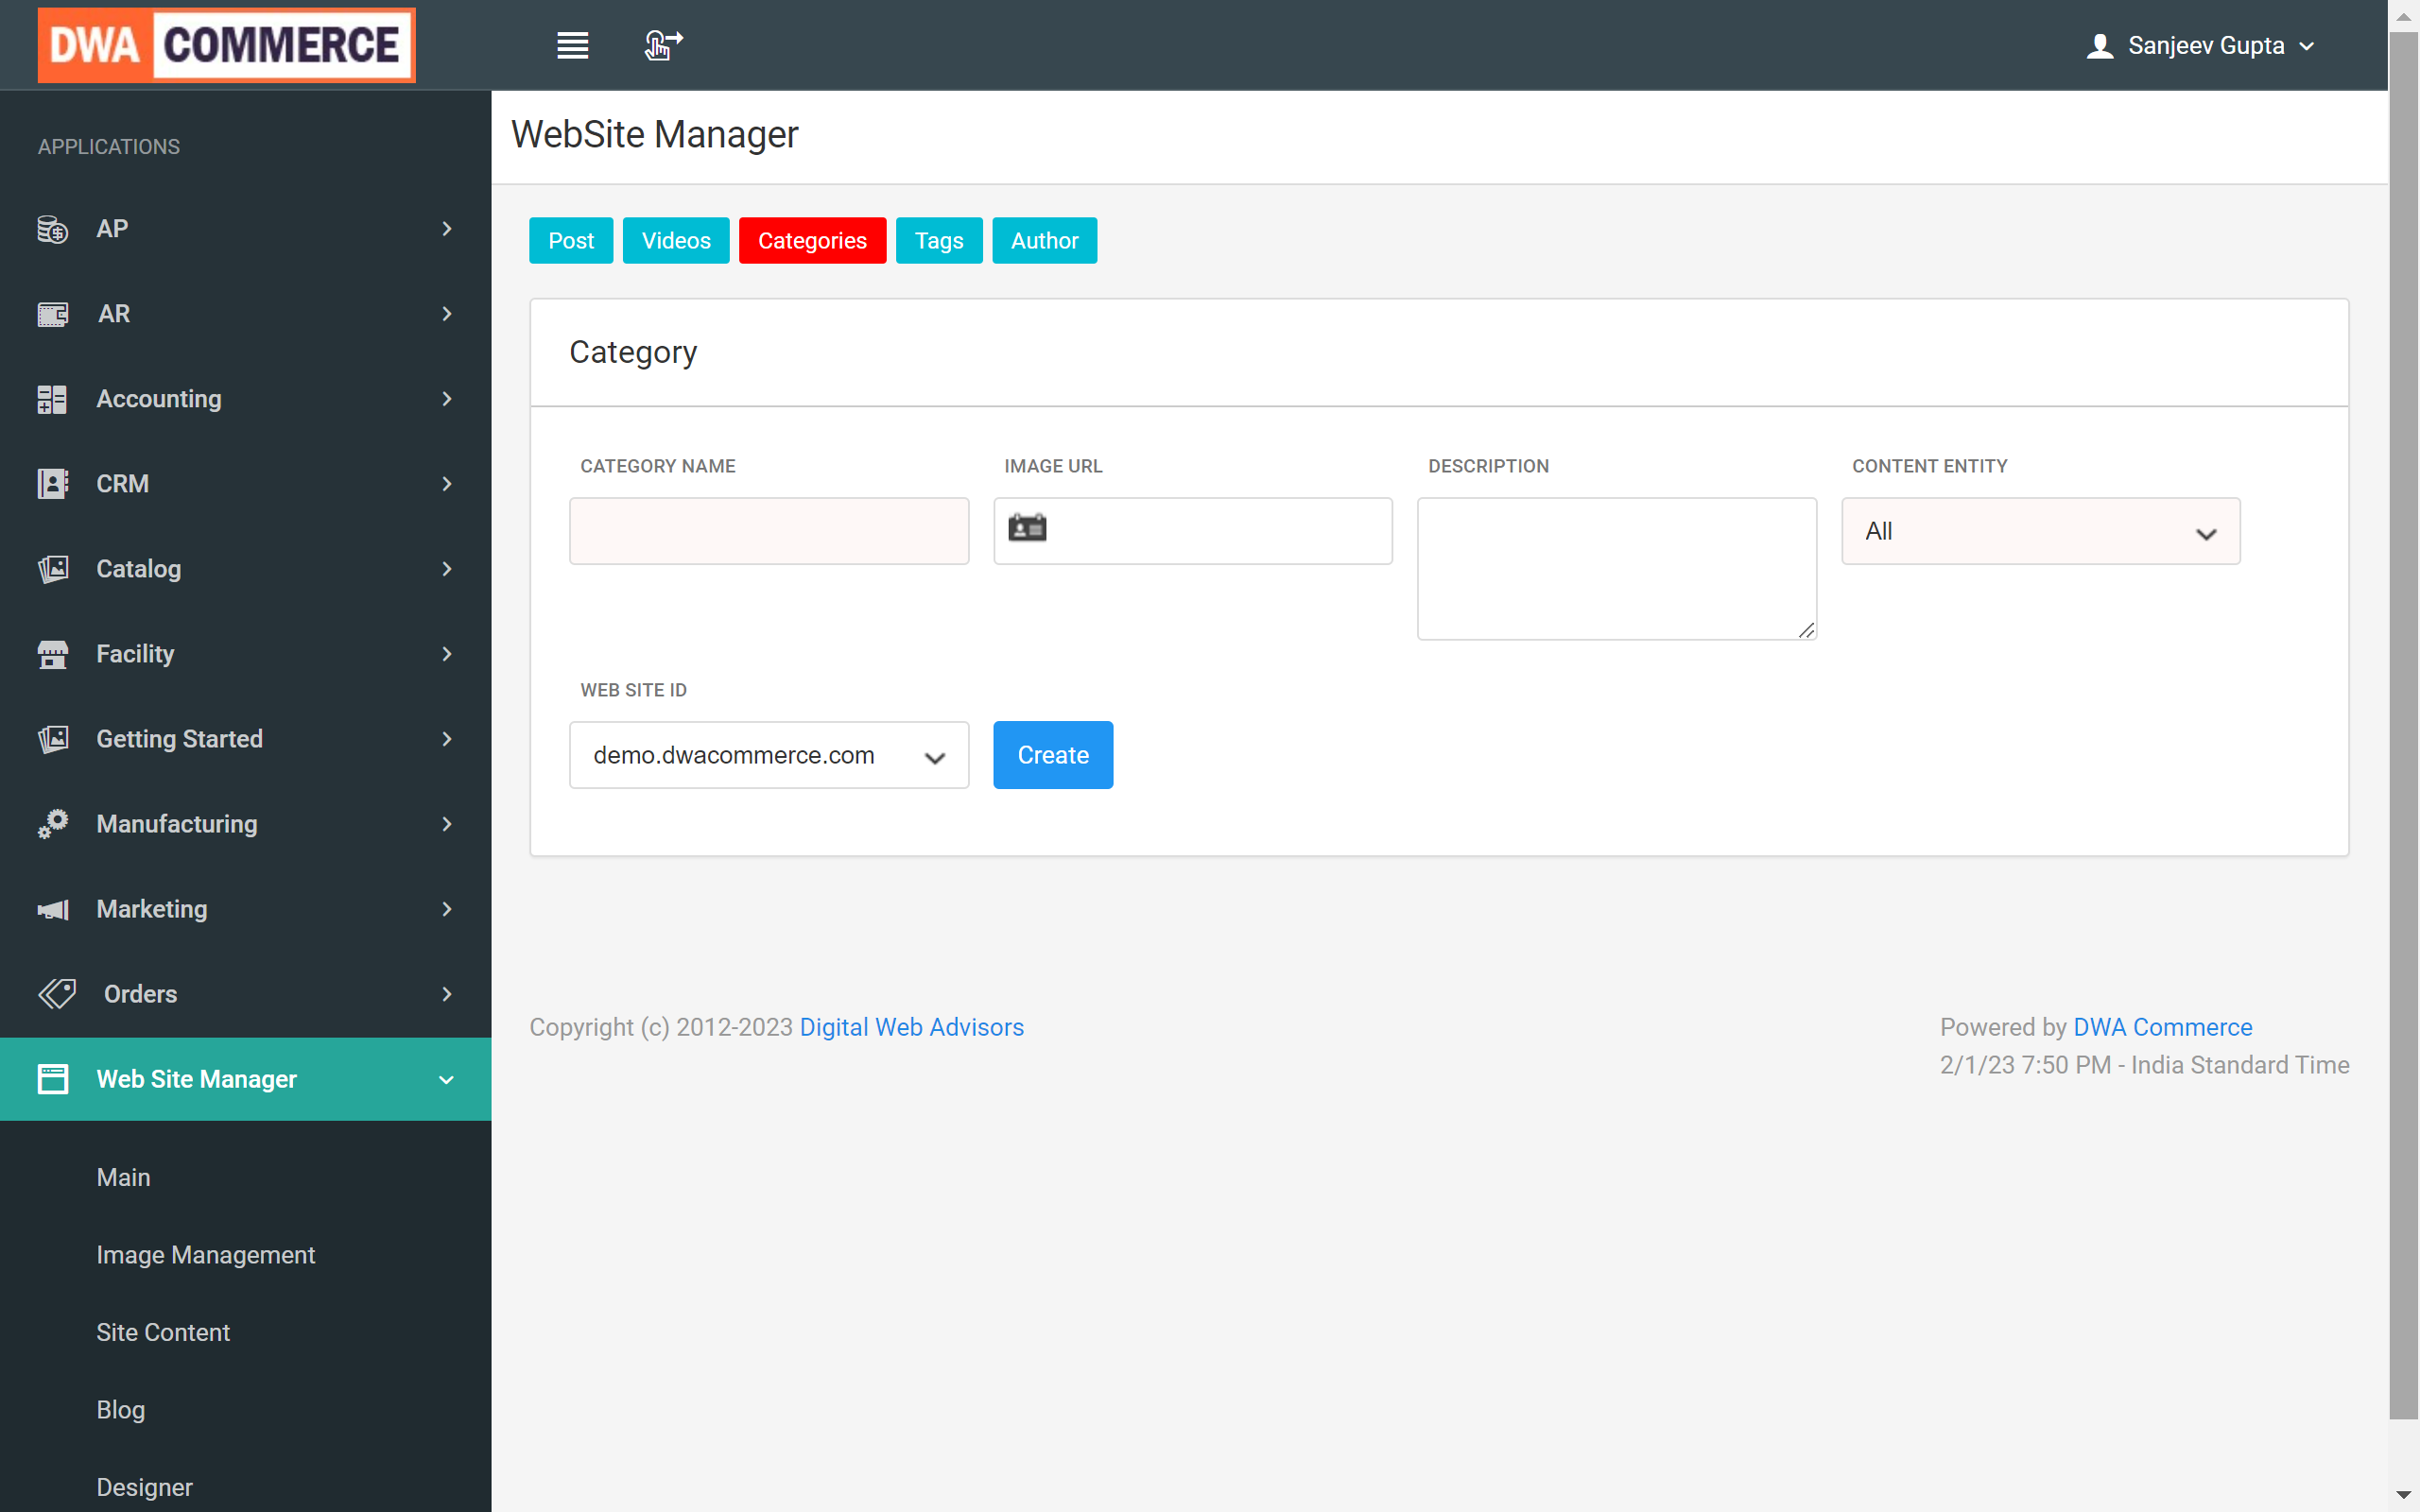
- Additionally, you can provide a description and select the content entity, which can be either post or video, or both if you choose All. Lastly, select the website ID on which you want to create this category and click Create.
Similarly, you can add tags to the blog by entering them in the Tag field and clicking the Tags button on the header and then following the same steps as creation of Category.
Once Category and Tags required have been created go back to your post and select the Category and Tags for your post. Finally, select the "From Date" and "Through Date" for your blog, as well as the website on which you want to post the blog.

Then, change the status to "Published" and click on the update button. To view your newly created blog, go to dwa commerce.com/blog and look for your blog in the listing.
In conclusion, DWA Commerce offers a simple and customizable platform for creating professional and engaging blog posts. Whether you want to add images, categories, or tags, it's all possible with DWA Commerce.